先更新一次
# apt update安裝需要的dependencies
# apt install dirmngr gnupg apt-transport-https ca-certificates software-properties-common匯入MongoDB public GPG Key
# wget -qO - https://www.mongodb.org/static/pgp/server-4.4.asc | sudo apt-key add -加入相關的MongoDB repository
# echo "deb [ arch=amd64,arm64 ] https://repo.mongodb.org/apt/ubuntu focal/mongodb-org/4.4 multiverse" | sudo tee /etc/apt/sources.list.d/mongodb-org-4.4.list更新一下package
# apt update -y開始安裝
# apt-get install -y mongodb-org幾個重要的檔案放置處:
設定檔 /etc/mongod.conf
主資料夾 /var/lib/mongodb
主要LOG /var/log/mongodb
啟動
# systemctl start mongod 檢查狀態
# systemctl status mongod關於移除安裝
# service mongod stop

# apt-get purge mongodb-org*

# rm -r /var/log/mongodb

# rm -r /var/lib/mongodb
設定開機時啟動,並開始使用
# systemctl enable --now mongod檢查安裝的結果
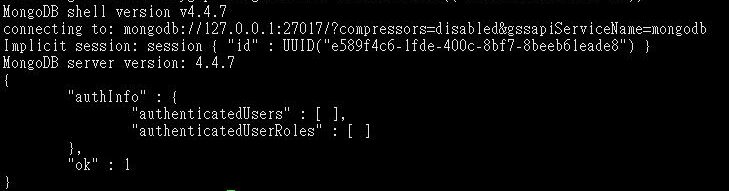
# mongo --eval 'db.runCommand({ connectionStatus: 1 })'看到最後的 “ok” : 1 就是OK的
增加安全性設定
#vi /etc/mongod.conf在 security 後面改成這樣
security:
authorization: enabled
若是有要對外開放,在net這邊改bindIp 後面的IP就可以
設定檔在修正過後,要重新啟動
# systemctl restart mongod到這邊基本上已經完成安裝了
再來處理新增使用者帳號的部分
先進入SHELL環境來執行
# mongo這邊選擇資料庫admin
use admin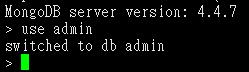
新增使用者命令,這邊新增一個使用者mongoAdmin 然後密碼設定是mypassword
並且將角色設定為 userAdminAnyDatabase 使用的資料庫是admin
db.createUser(
{
user: "mongoAdmin",
pwd: "mypassword",
roles: [ { role: "userAdminAnyDatabase", db: "admin" } ].
}
)
新增完成後就可以quit()離開
之後進入就會需要帳密,使用這樣進入即可
mongo -u 使用者帳號 -p --authenticationDatabase 資料庫名關於role這個角色。常見的有四種類型的角色
1.
資料庫使用者,每個資料庫都有,針對單一資料庫設定
read 讀
readWrite 寫
2.
資料庫管理者,同樣每個資料庫都有,針對單一資料庫設定
dbAdmin 資料庫管理者,可以看統計資料等,但是不能修改資料庫資料
dbOwner 針對該資料庫的最大權限,包含dbAdmin, userAdmin, readWrite
userAdmin管理資料庫的使用者,新建使用者及設定權限
3.
備份及復原
backup 備份
restore 復原
4.
針對全部資料庫的角色
readAnyDatabase 可以讀取全部資料庫
readWriteAnyDatabase 可以讀取及寫入全部資料庫
userAdminAnyDatabase 所有資料庫的userAdmin權限
dbAdminAnyDatabase 所有資料庫的dbAdmin權限
注意事項: 每一個資料庫都得使用者都是獨立的,不同的資料庫之間是可以設定相同的使用者帳號但是設定不同的權限。剩下的就是考驗自己腦子有多清楚了。
範例: 開一個資料庫testdb,增加一個使用者帳密,讓這使用者可以處理兩個資料庫用同樣的權限
use testdb
db.createUser(
    {
        user:"webuser",
        pwd:"mypassword",
        roles:[
            {
                role:"readWrite",db:"testdb"
            },
            {
                role:"readWrite",db:"testdb2"
            },
        ]
    }
)
建好後可以用這樣方式進入資料庫
自己的環境內
# mongo testdb -uwebuser -pmypassword
從其他環境連過來
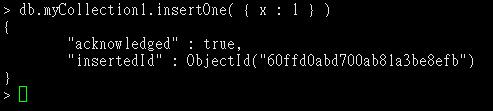
# mongo 192.168.1.100/testdb -uwebuser -pmypassword隨便加一條資料看看正常與否
db.myCollection1.insertOne( { x : 1 } )有類似這樣的回應就是OK的
檢查目前資料庫有哪些用戶權限
db.getUsers()刪除用戶user2
db.dropUser('user2')修改用戶user1,這邊要注意用戶的roles角色資料會被新的全部覆蓋
db.updateUser(
    "user1",{
        pwd:"123",
        roles:[
            {
                role:"userAdmin",db:"test1"
            },
            {
                role:"readWrite",db:"test1"
            }
        ]
    }
)