網路裝置服務監控系統,由淺到深可以分別利用
ICMP
SNMP
AGENT
APPLICATION
SERVICE
可以做到不同等級的深入探索。
安裝需要套件
# apt install software-properties-common add-apt-repository universe
# apt update
# apt install curl composer fping git graphviz imagemagick mariadb-client mariadb-server mtr-tiny nginx-full nmap php7.2-cli php7.2-curl php7.2-fpm php7.2-gd php7.2-json php7.2-mbstring php7.2-mysql php7.2-snmp php7.2-xml php7.2-zip python-memcache python-mysqldb rrdtool snmp snmpd whois
建立權限、安裝與設定
#useradd librenms -d /opt/librenms -M -r
#usermod -a -G librenms www-data
#cd /opt
#git clone https://github.com/librenms/librenms.git
#chown -R librenms:librenms /opt/librenms
#chmod 770 /opt/librenms
#apt install acl
#setfacl -d -m g::rwx /opt/librenms/rrd /opt/librenms/logs /opt/librenms/bootstrap/cache/ /opt/librenms/storage/
#setfacl -R -m g::rwx /opt/librenms/rrd /opt/librenms/logs /opt/librenms/bootstrap/cache/ /opt/librenms/storage/
安裝 librenms PHP套件
#su – librenms
$ ./scripts/composer_wrapper.php install –no-dev
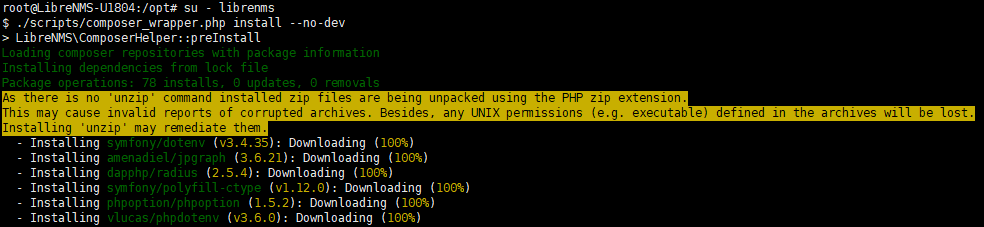
經過一陣子安裝後
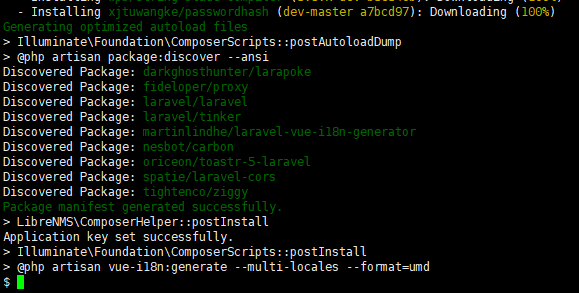
安裝完成後離開
$ exit
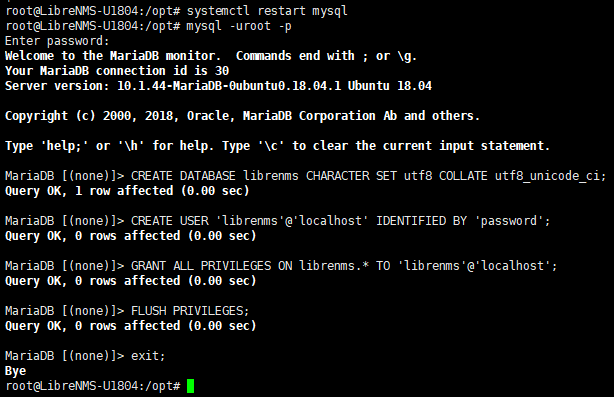
設定資料庫,用戶名librenma 密碼password
#systemctl restart mysql
#mysql -uroot -p
CREATE DATABASE librenms CHARACTER SET utf8 COLLATE utf8_unicode_ci;
CREATE USER ‘librenms’@’localhost’ IDENTIFIED BY ‘password’;
GRANT ALL PRIVILEGES ON librenms.* TO ‘librenms’@’localhost’;
FLUSH PRIVILEGES;
exit;
#vi /etc/mysql/mariadb.conf.d/50-server.cnf
在 [mysqld]內加入
innodb_file_per_table=1
lower_case_table_names=0
#systemctl restart mysql
修改PHP-FPM。主要是改下時區
# vi /etc/php/7.2/fpm/php.ini
# vi /etc/php/7.2/cli/php.ini
都是修改 date.timezone = “Asia/Taipei”
#systemctl restart php7.2-fpm
修改NGINX 設定
#vi /etc/nginx/conf.d/librenms.conf
server {
listen 80;
server_name 這網站的域名;
root /opt/librenms/html;
index index.php;
charset utf-8;
gzip on;
gzip_types text/css application/javascript text/javascript application/x-javascript image/svg+xml text/plain text/xsd text/xsl text/xml image/x-icon;
location / {
try_files $uri $uri/ /index.php?$query_string;
}
location /api/v0 {
try_files $uri $uri/ /api_v0.php?$query_string;
}
location ~ .php {
include fastcgi.conf;
fastcgi_split_path_info ^(.+.php)(/.+)$;
fastcgi_pass unix:/var/run/php/php7.2-fpm.sock;
}
location ~ /.ht {
deny all;
}
}
刪除舊設定並重啟
#rm /etc/nginx/sites-enabled/default
#systemctl restart nginx
設定SNMP
#cp /opt/librenms/snmpd.conf.example /etc/snmp/snmpd.conf
#curl -o /usr/bin/distro https://raw.githubusercontent.com/librenms/librenms-agent/master/snmp/distro
#chmod +x /usr/bin/distro
#systemctl restart snmpd
排程作業
#cp /opt/librenms/librenms.nonroot.cron /etc/cron.d/librenms
#cp /opt/librenms/misc/librenms.logrotate /etc/logrotate.d/librenms
檔案權限
#chown -R librenms:librenms /opt/librenms
#setfacl -d -m g::rwx /opt/librenms/rrd /opt/librenms/logs /opt/librenms/bootstrap/cache/ /opt/librenms/storage/
#setfacl -R -m g::rwx /opt/librenms/rrd /opt/librenms/logs /opt/librenms/bootstrap/cache/ /opt/librenms/storage/
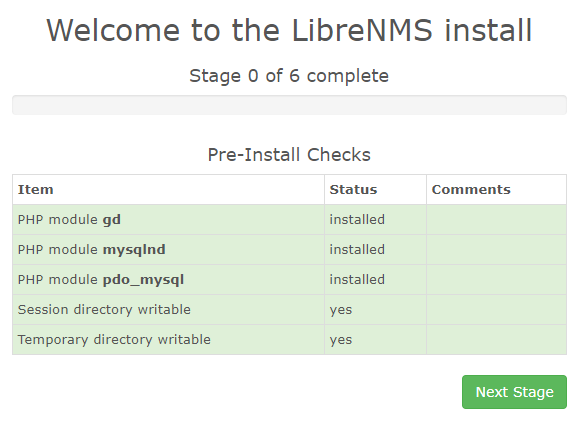
安裝完成,進入http://IP/install.php 後依照指示執行到結束。
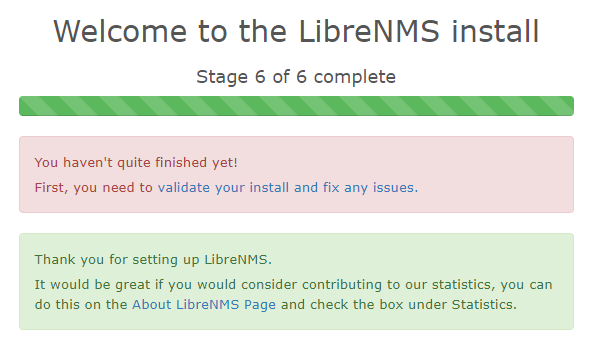
最後檢查有沒有問題,個別處理問題
# cd /opt/librenms
# ./validate.php
2020-03-17 追加紀錄
發現這邊有人已經提供的自動安裝的SH檔可以用
https://github.com/BensonRUEI/Librenms-Install-Shell